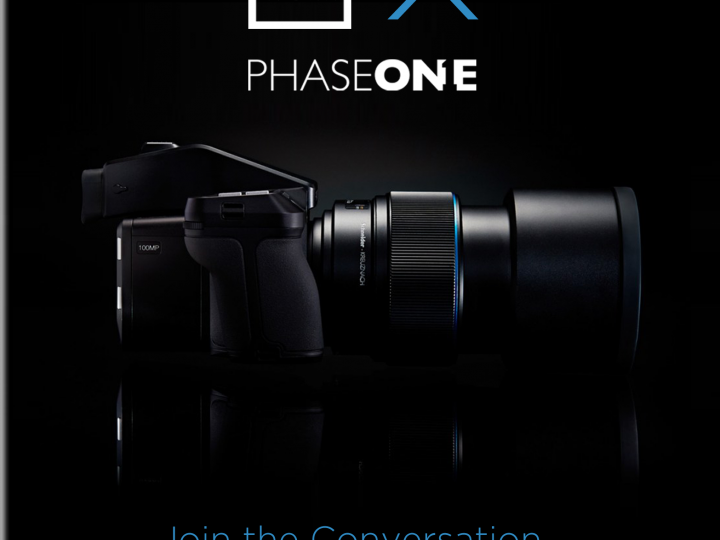
When the XF camera system was designed, a key area of the ethos was the ability for it to grow with a photographer well into the future. As new tools are developed by Phase One, these can be installed into the system through the firmware as Feature Updates.
Alongside this, a great part of the XF philosophy is it’s simple and malleable interface, which can be freely and easily customised to suit the specific needs of a photographer or a particular shoot. This could be seen as fairly superficial and easily overlooked, but with the XF there is the freedom to really strip it down to just the tools that you need to use. When you have such an incredible tool for making your images, why not have it work as smoothly and simply as possible?
Here’s a little run through of how you can take it from it’s default settings and shape it to work as efficiently as possible.
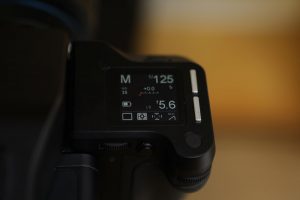
This is how the interface appears by default:
What we have is three dials which refer to the three exposure controls. This means that exposure can freely and comfortably be adjusted while shooting, and the dials are positioned according to the top display. If you want to change the dial assignment, this can be done through the UI Setup to suit your preference (likewise, the direction in which they adjust).
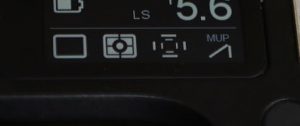
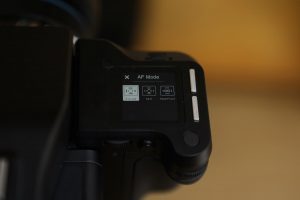
At the bottom of the top panel the XF has 4 ‘one-touch’ options. This gives you quick access to the tools, and is key to having efficient access to what you are going to need for a shoot. By default, you have Drive Mode on the left, Metering, Autofocus Mode, and Mirror Up on the right.
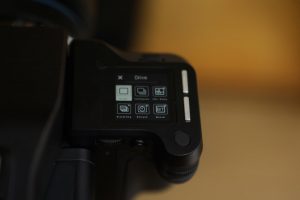
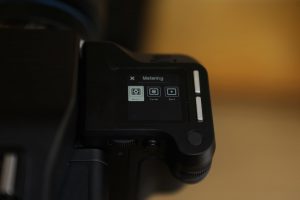
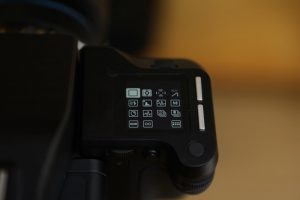
As these 4 options give you direct access, it makes sense to customise to fit the job. During a shoot, it is unlikely the you are going to need to change the Metering Mode or the AF mode, so once you’ve set these, you can switch it for something which may be more useful to have at your fingertips. A long press on any of the 4 tools will bring up the tools menu:
Once you have learned the icons, you can quickly reassign the 4 one-touch options. All of these tools are available through the touch screen swipe menu, but it is a far more streamlined way of working if you don’t have to continually dive through the menu to find what you need. If you are working in the studio with flash, for instance, it is really useful to have the Profoto Air as a one-touch option, rather than having to swipe through the menu every time you need to adjust you flash power. This means you can concentrate more on the job at hand, and get the most from the benefits of the XF, rather than constantly searching through menus.
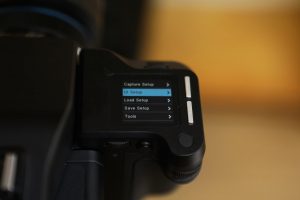
Pressing the bottom silver button will bring up the XF Menu. Navigation of this menu is through the shutter speed dial (to go down the options) and the aperture or ISO dial (to go into the options). There is a Capture Setup menu, which gives you control over how you want the camera to shoot, but if you go into the UI setup, you can flexibly make the camera work best for you. A good starting point is in the Control Setup:
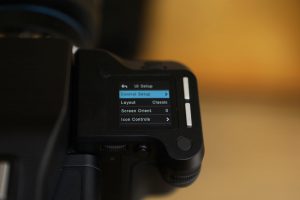
It is very simple with the XF to assign what tool you want to what button you want. There are 3 buttons on the XF which are completely open and can be freely adjusted (again using the Aperture dial will scroll you through the options. As an example of what you might want to customise: By default the button which is inside the hand grip will Stop Down the lens. If this is essential for your shoot then you will keep it, but if was more useful for you to have direct access to Live View, which generally might be more useful, then you can just select it out of the options. You don’t have to save anything, just a half press of the shutter and you are back to the main menu with your new control.
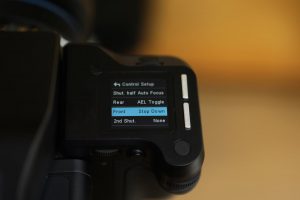
There are a few tools which are a deeper within the Capture Setup/Tools, and it’s worth exploring these as they can also be placed on a button and can be very useful. Two examples of this, which could be essential for different types of shoot. One Shot AE which will give you an automatic neutral exposure (in a landscape/architectural setting can be very useful). There is then Autofocus Recompose (AFr) which was added in Feature Update 4. By default it is within the Capture Setup and depending on how you’re shooting it can be essential or not necessary. Therefore, if shooting portraiture/fashion (or anything where you are focussing and then recomposing your shot) it is a real time saver to have this on a button so you can toggle it on or off.
The next thing to adjust to give you the most streamlined setup is the Tools Enabled, which can be found lower down in the UI setup:
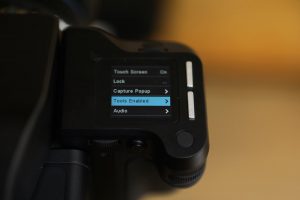
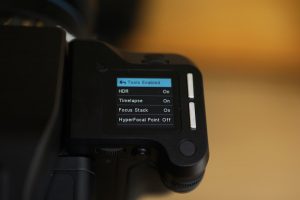
By adjusting this, you can decide what tools you want within the touch-screen swipe menu. Again, to save you having to scroll through tools you are not using, why not switch them off and just have what you need to use. Again, super simple to do, just choose On or Off, and half press back to the main menu.
The last thing which can be useful – depending on the shoot situation – is to have the Focus Confirm audio switched on. Because you are working with a central focus point, it is important to know when you have your focus nailed – especially with the 60, 80MP and 100MP IQ backs, where depth of field is very shallow. Sometimes useful, and by default not switched on (UI Setup – Audio – Focus Confirm).
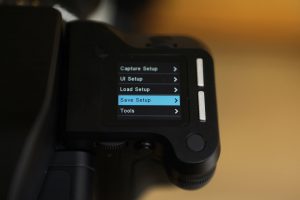
All of this customisation can be done very quickly once you are familiar with the XF. If you are a photographer shooting various different types of work, then it comes more important to save these as a setup. Within the XF menu you have a Save Setup option:
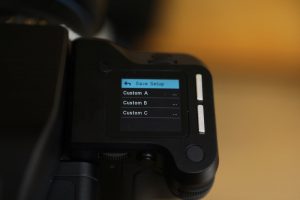
Once you have your UI sorted, then save it if it is going to be useful for future shoots. In the XF body this is done as Custom A, B or C. Once saved, go into the XF Menu on your IQ digital back and select Custom Setup. Here you can rename to, for example, Portrait/Landscape etc. If you wanted more custom setups, or if you work as an assistant for a photographer regularly, save these to a CF card which you can have to hand when you need it.
As ever, if you have any questions about the XF camera, or want to arrange a demo of any Phase One products, we are here to help!
sales@teamworkphoto.com
0207 323 6455

